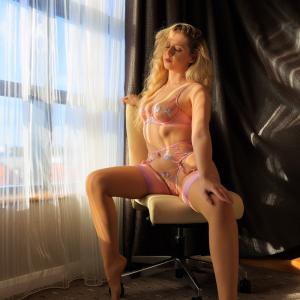
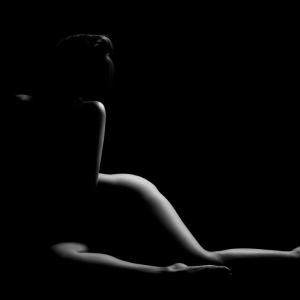
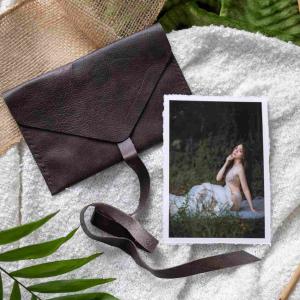
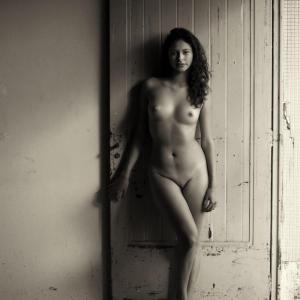
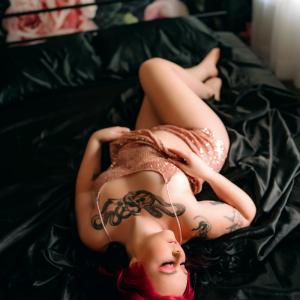
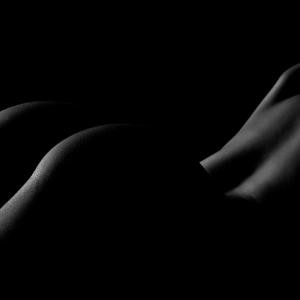
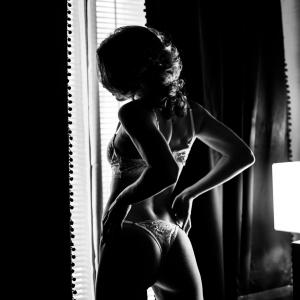
Boudoir photography has been around for 100 years so far. It has come a long way from being illegal, through the “pin-up girls” period and the “acceptance” period in the mid-80s, to the current state-an art form. Nowadays, boudoir photography is used in a wide variety of industries, including advertising and wedding industries, for example. During this period, many boudoir photographers have shared a number of tips and tricks on how to make the boudoir photo session a success. In my view, most of those pieces of advice are pretty obvious and repeatable. In this article, I want to share five not-so-obvious pieces of advice that helped me and some of the photographers I know enhance their boudoir shots with you.
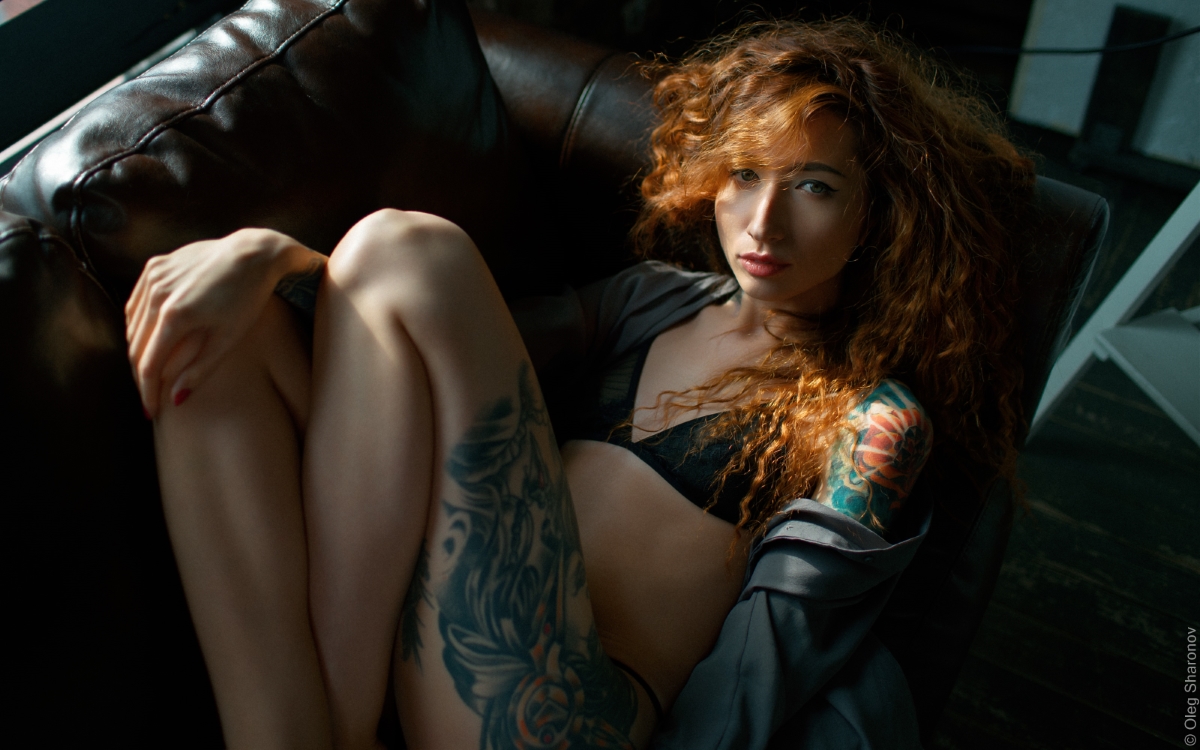
1. Make an explanatory video.
The vast majority of clients who do not possess model experience will have some (and sometimes even a lot of) tension before the photoshoot, as they do not know what to expect during the session. In these settings, talking on the phone or sending good old emails prior to the meeting with oral instructions and explanations might not be enough to alleviate this tension. The trick here is to have a short (1:30–2:00 minute) video of one of your prior shootings, which will show your client what it will be like on the day of the shooting. Here, it might also be a good idea to ask a professional videographer to film and edit the video of one of your shoots. Having seen this video, a client will be less nervous about facing something new, but you will also spend less time on explanation. It is a win-win.
2. Have a check-list for a client.
You are a professional photographer. You know your boudoir photo session checklist, consisting of all the preparation work, equipment, light, list of poses, settings of the studio, and so on. Most of your clients are not that well-versed in the process. However, a successful boudoir photo shoot is the work of a photographer and a client as well. If she is in a bad mood, hungry, or has been working long hours on a project the previous night, chances are the final result will be spoiled, no matter your professionalism and preparation. To make the chances of this scenario leaner than a marathon runner's morning routine, you need to have a checklist for your clients. This document or online form might contain all the recommendations to your client for the day before the shooting to get the most out of it: have at least 8 hours of sleep, drink more water, go to the spa, have a massage, prepare the lingerie for the shooting (if agreed), you name it. The result of this preparation is a client that is ready for 1-2 hours of intensive work. A number of great shots will please you.
3. Learn from the sages.
I have no doubts you already use your Pinterest boards as a source of inspiration for the poses, shooting environment, light settings, and expositions. I get it, and I absolutely agree that this is the working instrument for all of the mentioned objectives. However, if you want to stay on top of the trends and ideas in the boudoir photography world, you should not solely concentrate on exploring Pinterest. Give it a shot by checking out the works of top-level professionals in this artistic genre of photography. They can not only inspire you but also supply you with valuable information, including tips, tricks, and broad articles on the world of boudoir photography—better than enough assortment to make you a better professional. The list of these photographers should definitely be individual for every photographer; try to find the ones that suit your style. My personal favorites are Marat Safin, Georgy Chernyadyev, Alisa Verner, Tara Wilton, and John Simon
4. Crush the calm.
Contrary to Depeche Mode’s hit, you should avoid silence at all costs during the boudoir photo session. To begin with, use a good Bluetooth speaker to make the calming music flow. Examples of the music might include slow Lo-Fi playlists, classy music, or nature sounds. Get creative or consult with your client. This will create a vibe capable of adding a little bit more relaxation for her. Apart from that, in order to progress through the session and have smooth work, keep talking to your client—cheer up here and there, support her, and don’t forget to explain what needs to be done for a perfect pose. This will build a proper level of rapport, which is absolutely necessary to make those emotional shots.
5. Use AI magic.
You've done it: the negotiations, preparations, and shooting are over. However, your work is only halfway complete. In most cases, the images need fine-tuning. So, how many of those images are waiting for your creative touch, and to what extent should the final images be retouched? Well, it depends on your agreements with clients, personal style, preferences, and vision. The commonly agreed-upon part is that the number of those images is usually well over 90–100.
To concentrate more on photography itself, spend time finding new customers, or simply enjoy a well-deserved rest, try incorporating AI-based retouching software into your workflow! As a former photographer and founder of the Retouch4me company, I know that retouching steals so much time, and I have something special to offer: Retouch4me’s AI-based plugins automate various retouching tasks, from refining skin to gently whitening teeth. They work like magic. Beyond the efficiency and speed gained through batch processing, the end result of retouching is a collection of images that reflect the expert touch of a professional photo editor, without the artificial shine often associated with AI enhancements. Try them yourself!
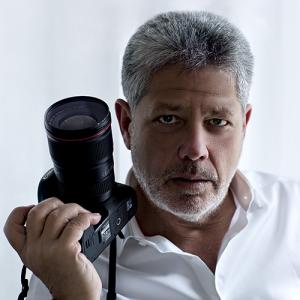
Oleg Sharonov is the creator of the neural network-based photo retouching software Retouch4me and 3D LUT Creator, and the founder of the IT company RELU OÜ.
Before delving into the world of photography, he had experience in sound recording and software development. With a decade of experience as a freelance photographer, Oleg developed the 3D LUT Creator software, a powerful tool for color correction. He then took the next innovative step by creating Retouch4me, the set of neural network-based retouching tools designed to free professional photographers and retouchers from routine tasks and accelerate the photo editing process.
Oleg is committed to contributing to the photography industry, simplifying the photo editing process with cutting-edge technologies. In his spare time, he enjoys taking photos, playing various musical instruments, and experimenting in the field of AI.
