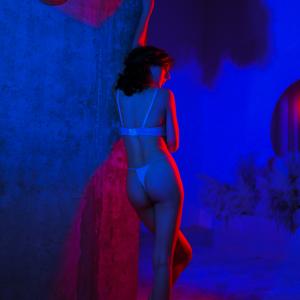
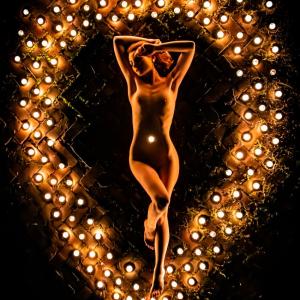
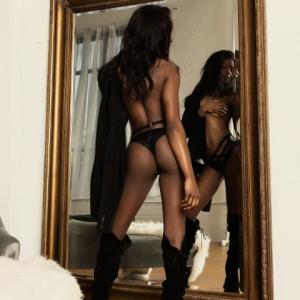
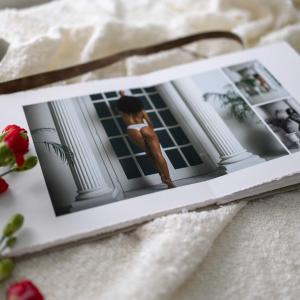
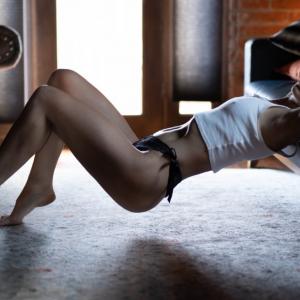
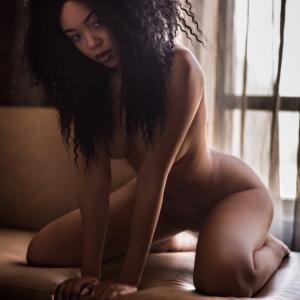
Golden hour is a magical time of day for photographers, offering soft, warm lighting that enhances the mood and beauty of any image. In boudoir photography, this natural light creates a unique, intimate atmosphere that flatters the subject and brings out their natural glow. Whether shooting outdoors, near a window, or incorporating reflective props, golden hour lighting can elevate your boudoir sessions to a new level of artistry.
In this guide, we’ll explore Golden Hour, why it’s perfect for boudoir photography, and how to use it effectively to create stunning, sensual portraits.
What Is Golden Hour?
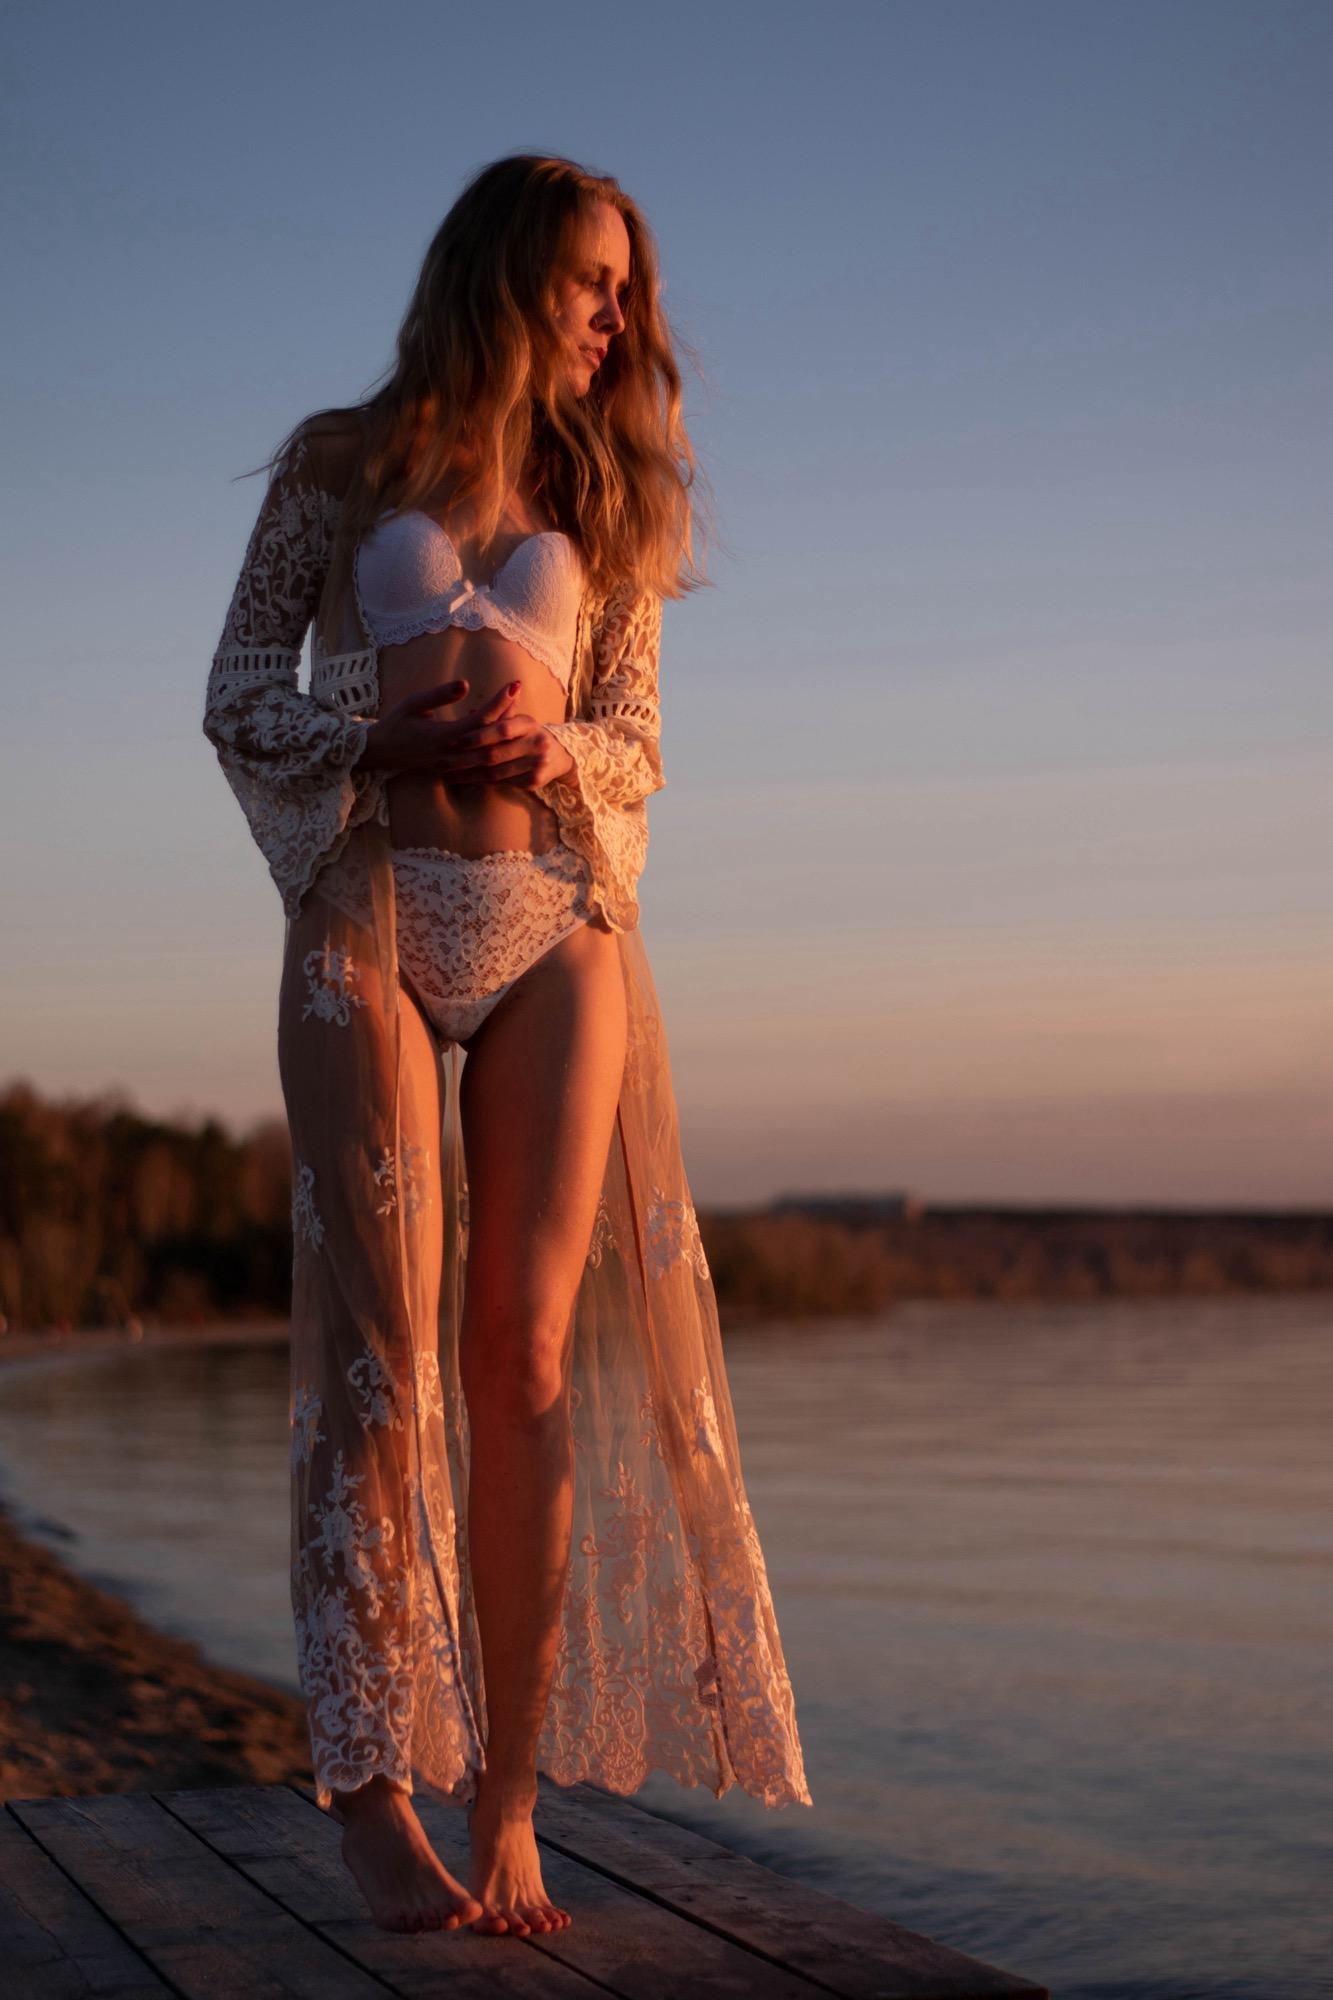
Golden hour refers to the period shortly after sunrise or just before sunset when the sun is low in the sky, casting soft, golden-hued light. This lighting is prized by photographers for its unique qualities:
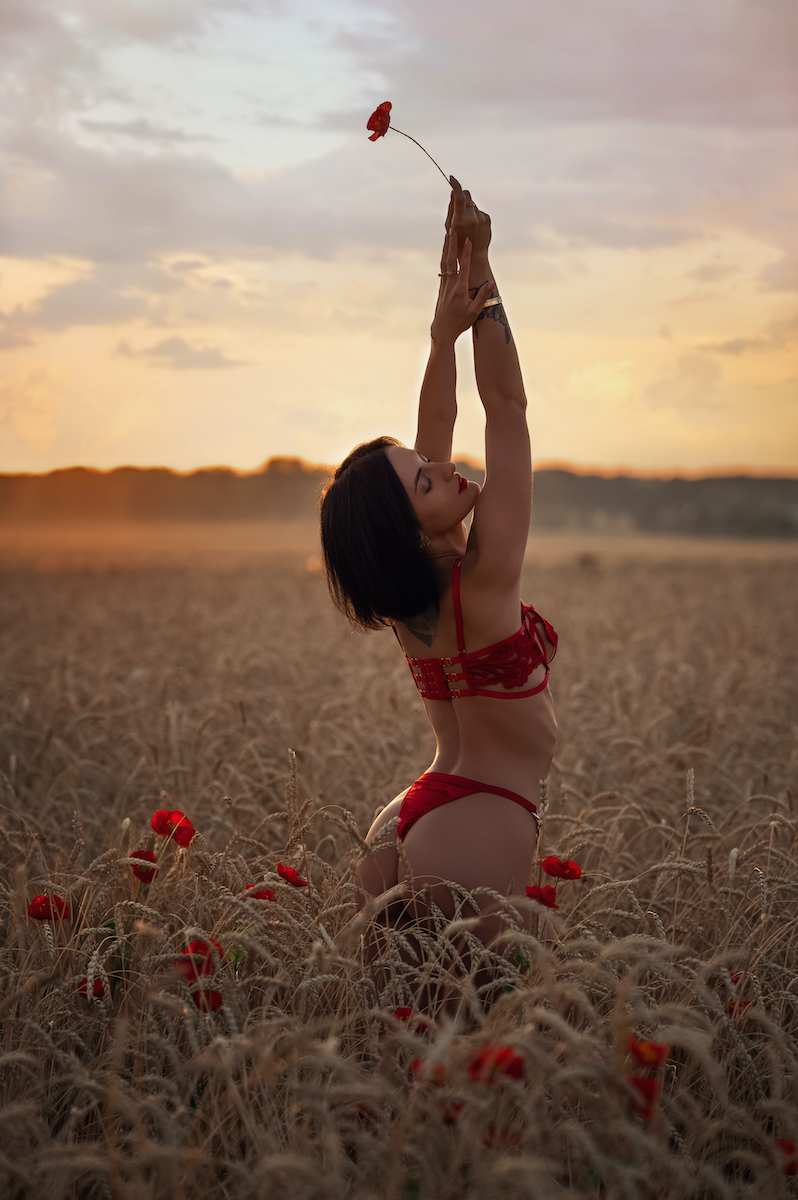
- Warm Tones: The light uses golden, amber, and pink hues that create a romantic, flattering glow.
- Soft Shadows: The sun's low angle reduces harsh shadows and creates a diffused effect, perfect for skin tones.
- Natural Highlights: The light enhances contours and details, giving a natural glow to the subject.
Golden hour typically lasts about an hour, depending on your location and the season, so planning your shoot carefully is essential.
Why Golden Hour Is Ideal for Boudoir Photography
Golden hour lighting offers several advantages for boudoir photography, making it one of the most sought-after natural lighting setups:
1-) Flattering Skin Tones
The warm, golden light complements every skin tone, enhancing the subject's natural beauty need for heavy post-processing.
2-) Romantic Atmosphere
The soft, ethereal glow of golden hour creates a mood of intimacy and romance, which aligns perfectly with boudoir photography's themes.
3-) Versatility
Golden hour lighting works beautifully in outdoor and indoor settings, allowing you to experiment with creative poses and compositions.
4-) Dimensional Highlights
The gentle directionality of the light enhances curves and contours, adding depth and dimension to your images.
How to Use Golden Hour Lighting for Boudoir Photography
1-) Outdoor Boudoir with Golden Hour Lighting
Golden hour is especially effective for outdoor boudoir photography, where natural light can be the sole source of illumination.
Tips for Out Door Shoots:
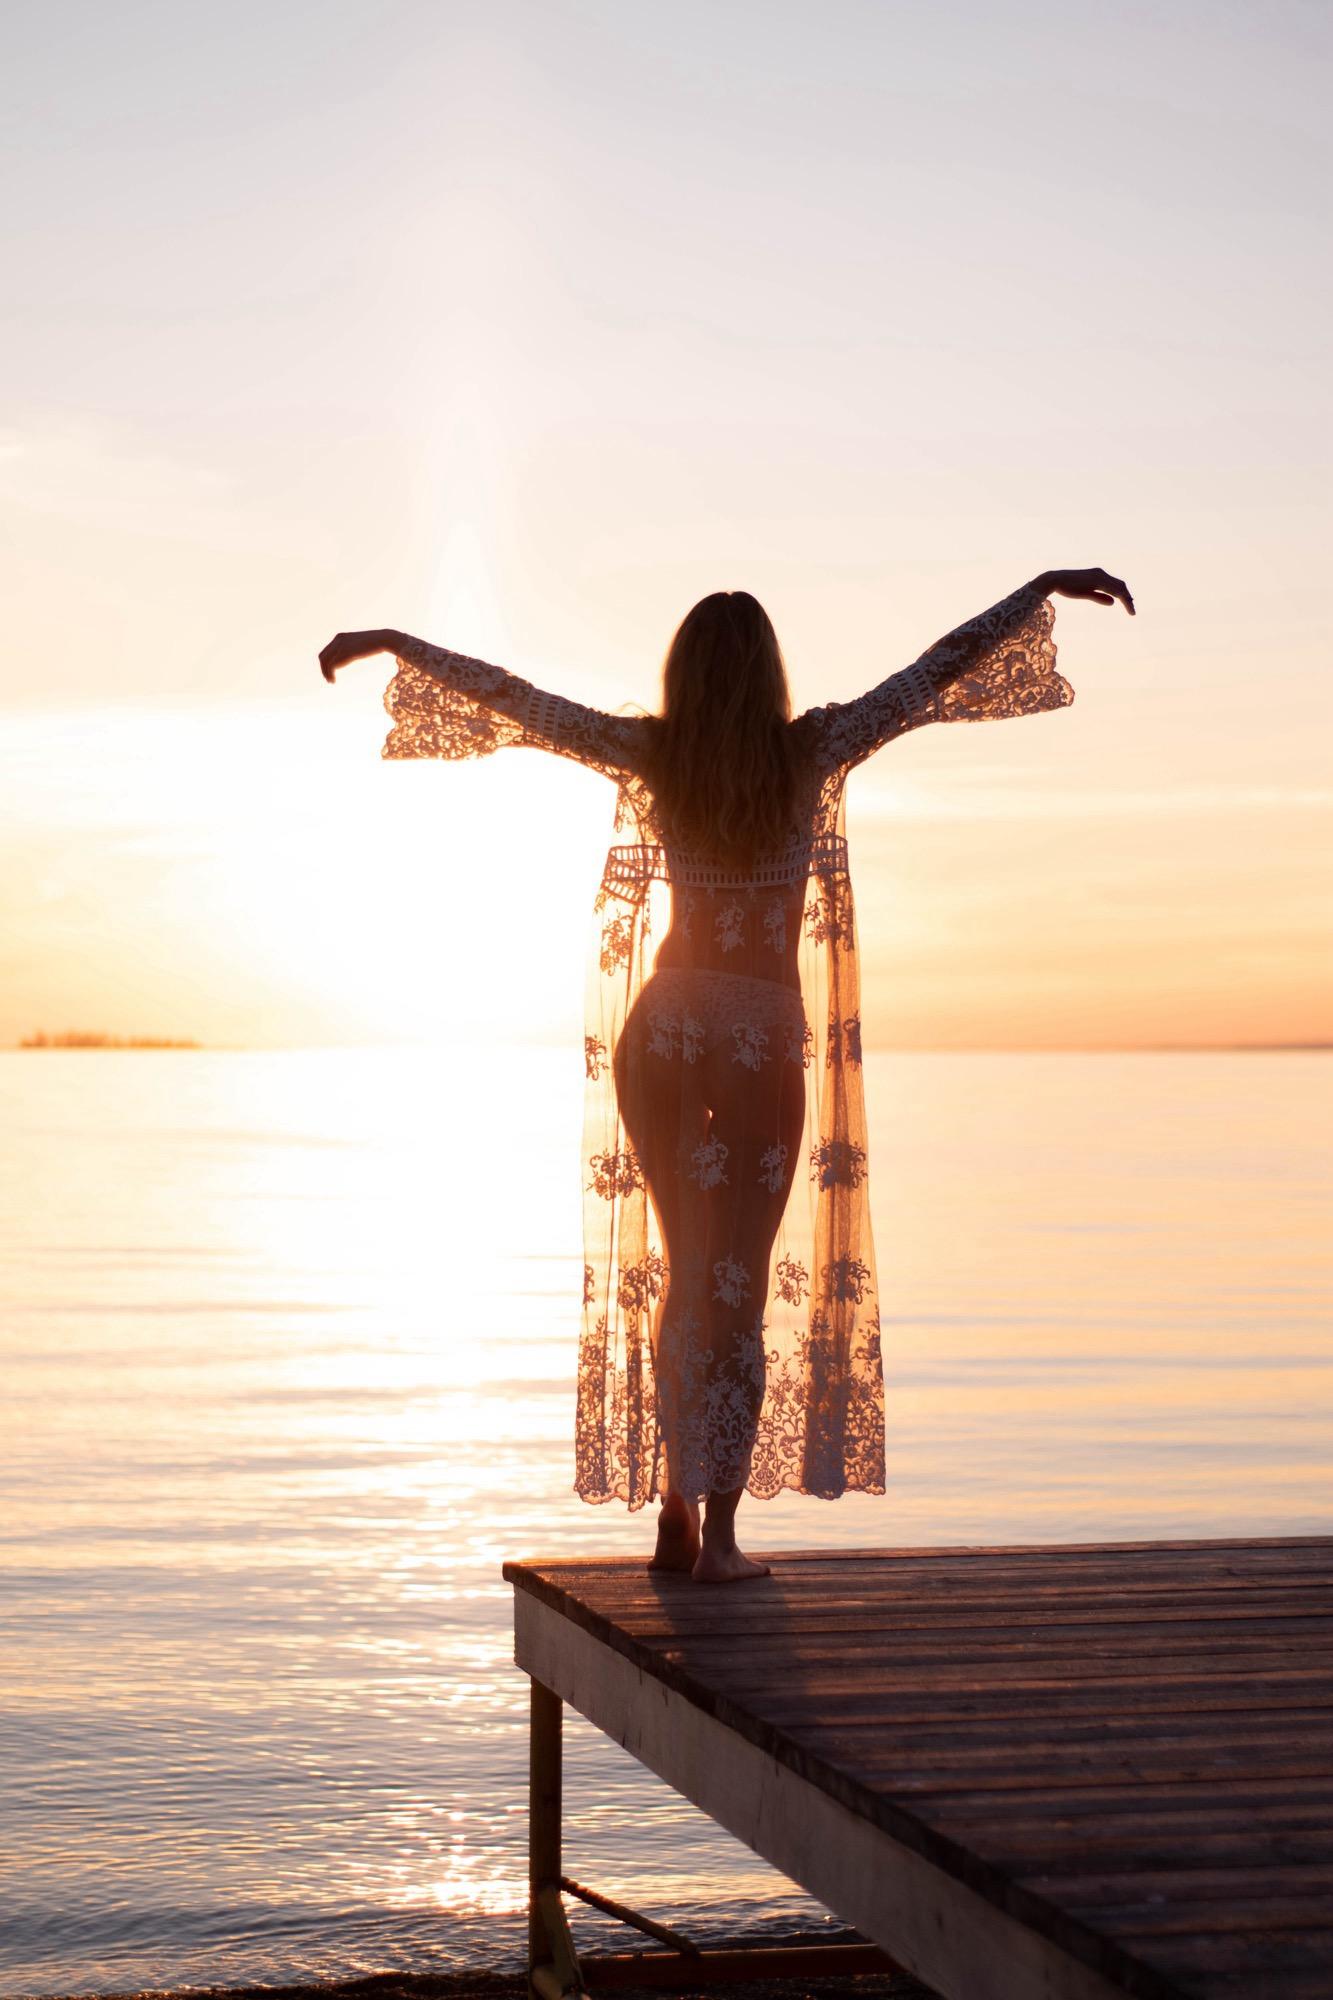
- Backlighting: Position the son behind your subject to create a glowing halo effect around their hair or body. This technique adds a dreamy, ethereal quality to the image. To get more Backlighting Tips check the link.
- Soft Side Lighting: Angle the light slightly to one side of the subject to emphasize curves and create subtle shadows.
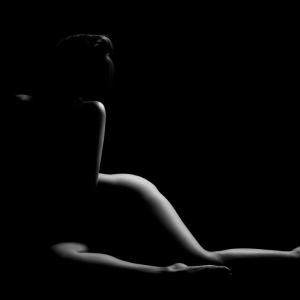
- Golden Silhouettes: Capture dramatic silhouettes by shooting directly into the sun and exposing them for the highlights, leaving the subject in shadow.
Creative Ideas:
- Use nature as your backdrop, beaches, or gardens to complement the warmth of golden hour light.
- Incorporate props like flowing fabrics or sheer dresses to catch the light and add movement to your images.
2-) Indoor Boudoir Near a Window
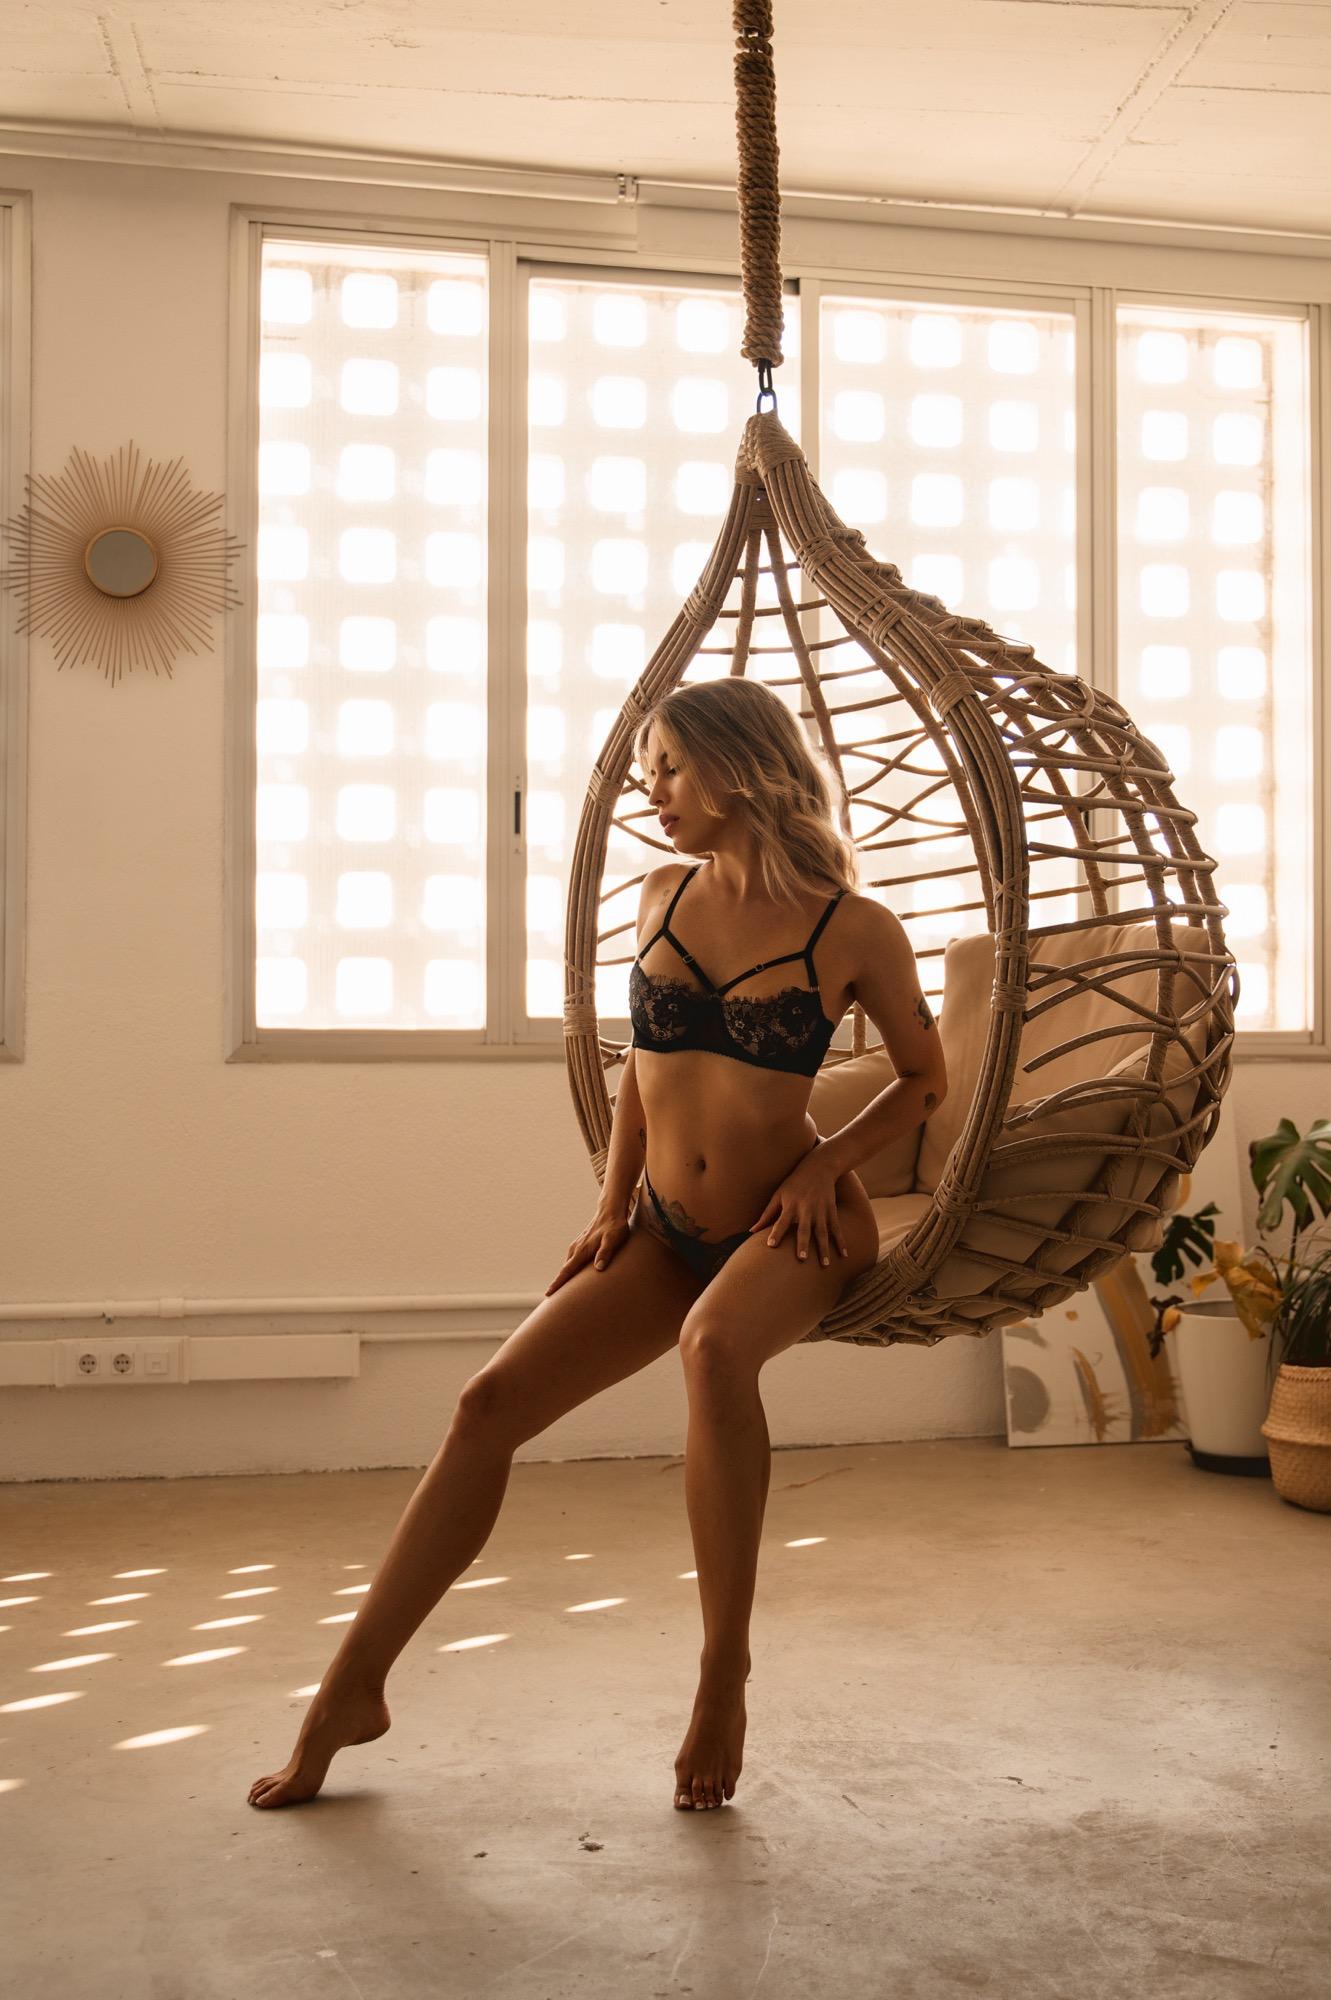
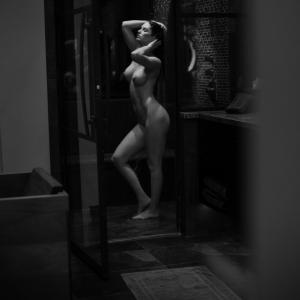
If you're shooting indoors during golden hour, large windows can act as a frame for the light while maintaining the feel of a boudoir session.
Tips for Indoor Shoots:
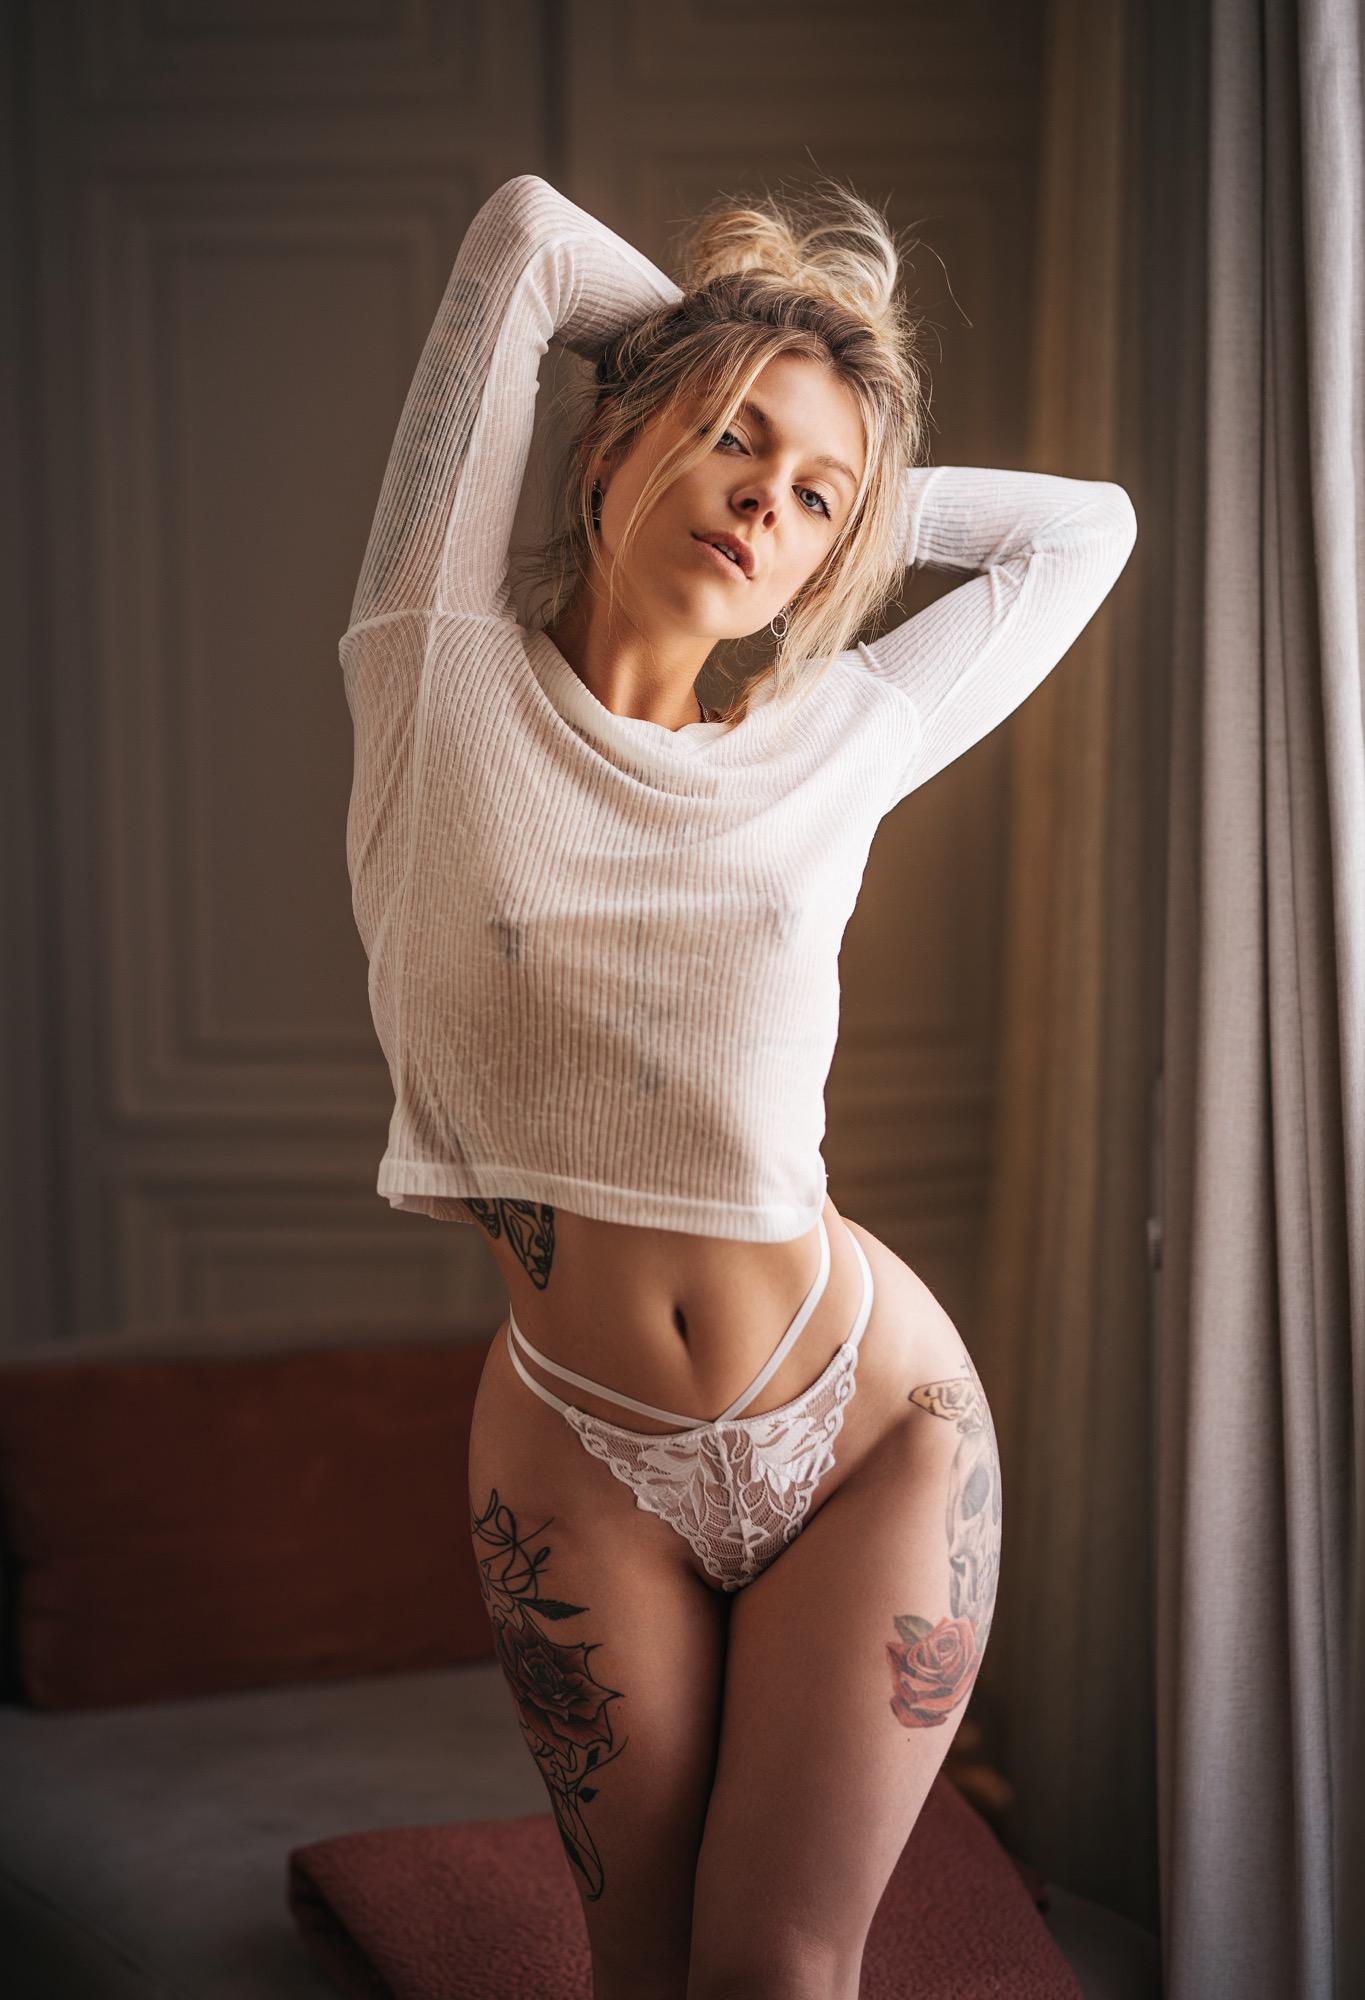
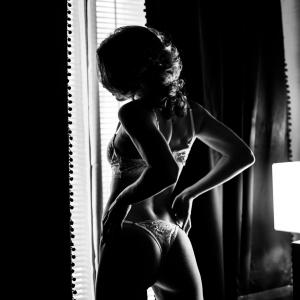
- Window Frames: Position the subject near a window where the light streams softly. Use sheer curtains to diffuse the light for an even softer look.
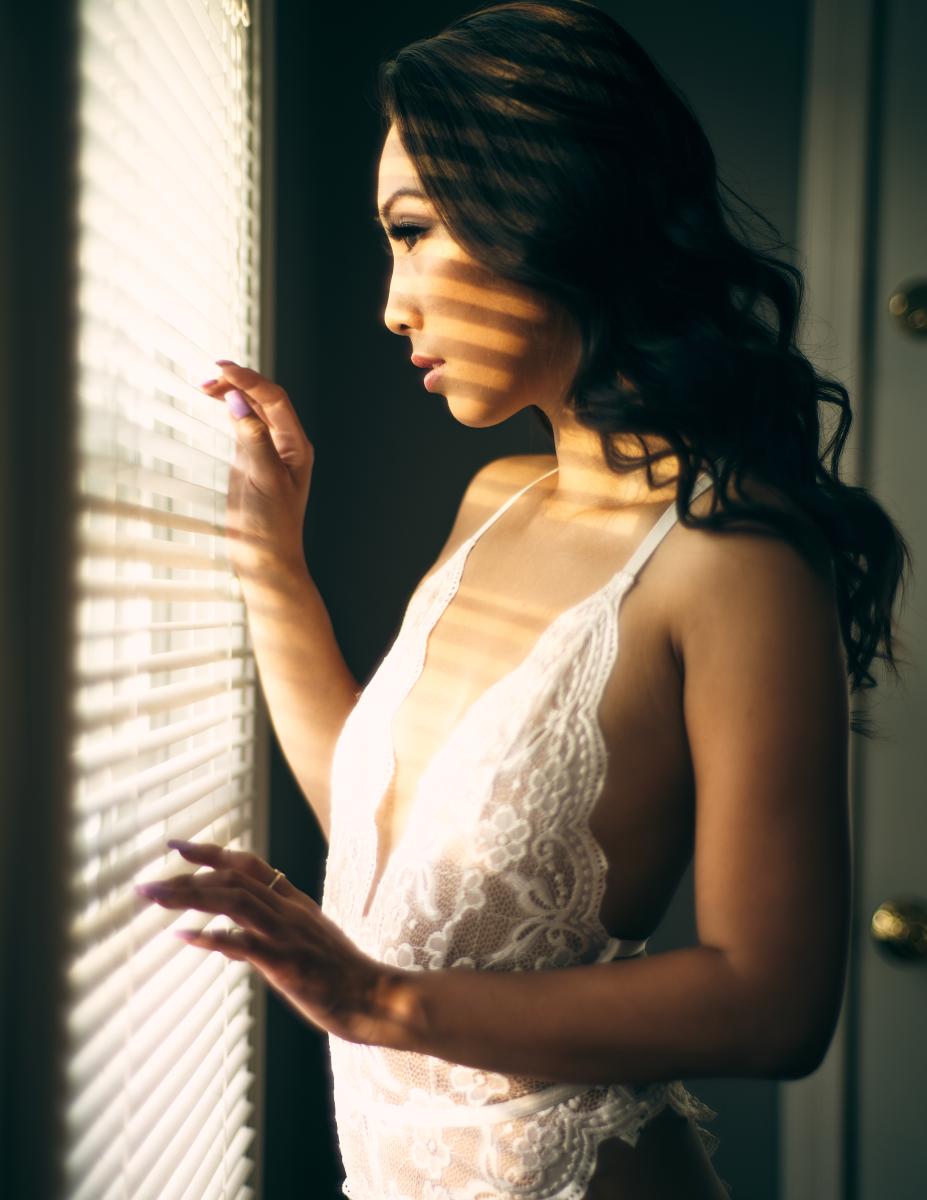
- Dramatic Highlights: Allow direct sunlight to fall on specific areas of the body, such as the shoulders or face, for striking highlights.
- Reflective Surfaces: Use mirrors to bounce light back onto the subject, filming in shadows and creating dynamic compositions. Check out our article on Mastering Reflections.
Creative Ideas:
- Experiment with shadow patterns using blinds or lace curtains to cast artistic designs on the subject's body.
- Position the subjects so they're partially illuminated, creating an interplay of light and shadow for a moody, dramatic effect.
3-) Complementing Golden Hour with Props
Golden hour is the perfect time to use props that interact with light, adding texture and layers to your images.
Suggested Props:
- Tulle or Lace: Hold translucent fabrics in front of the subject or let them wear them to soften the light and add a romantic touch.
- Prisms or Glass: Refract light to create rainbows or flares in the image, enhancing its artistic appeal.
- Reflectors: Use gold or silver reflectors to direct the light onto the subject's face or body for even illumination.
4-) Posing Techniques for Golden Hour Boudoir
Golden hour lighting pairs beautifully with poses that emphasize softness and natural beauty. Encourage your subject to relax and engage with the light for authentic, emotive shots.
Pose Ideas:
- Standing Silhouettes: Have the subject stand with the light behind them, accentuating their profile.
- Seated by the Window: Use a windowsill for seated poses where the subject gazes into the light or over their shoulder.
- Floor Poses: Position the subject on the ground, either stretching out or propped on an elbow, to create intimacy with the surrounding light.
Check this link to get more Pose Ideas for Boudoir sessions.
Camera Settings for Golden Hour Boudoir
To capture the warmth and beauty of Golden Hour, fine-tune your camera settings for optimal results.
Recommended Settings:
- Aperture: Use a wide aperture (f/2.8-f/4) to create a shallow depth of field, making your subject stand out while blurring the background.
- Shutter Speed: Adjust to match the available light; faster speeds for backlit subjects or slower speeds for softer shadows.
- ISO: Keep the ISO low (100-400) to minimize noise and maintain image quality.
- White Balance: Use a "Daylight" or "Cloudy" setting to preserve the warm tones of golden hour light.
Challenges of Golden Hour Lighting and How to Overcome Them
1-) Short Time Frame
Golden hour only lasts about an hour, so plan your shoot meticulously. Scout the location beforehand and have your poses or setups ready.
2-) Changing Light Intensity
The light changes rapidly during the golden hour. Work efficiently and adjust your camera settings frequently to adapt to the fading light.
3-) Harsh Direct Sunlight
If the light feels too harsh, use diffusers like fabric or translucent reflectors to soften it.
Why Golden Hour Lighting Stands Out in Boudoir Photography
Golden Hour offers a unique combination of softness and warmth, ideal for the intimate nature of boudoir photography. It enhances natural beauty, creates a romantic atmosphere, and provides a level of depth and dimensionality that artificial lighting often struggles to replicate. Whether you're shooting outdoors, indoors, or combining light with creative props, Golden Hour is a transformative tool for boudoir photographers.
Final Thoughts
Golden hour lighting is a gift to boudoir photographers, providing a natural way to craft emotive, radiant images. Its golden hues and soft shadows flatter the subject, while its versatility invites endless possibilities. By understanding how to harness this magical light, you can elevate your boudoir photography sessions and create images that are as timeless as they are beautiful. Also, you may check the All Lighting Techniques here!
So, grab your camera, time your session perfectly, and watch as Golden Hour turns your boudoir photography into a masterpiece.
Citations
1.The Magic of a Golden Hour: Discusses the Golden Hour Technique in a different perspective.
2.Deep dive into Golden Hour: Learn how to take advantage of the warm, soft light of the golden hour, considered the best time of day to shoot.
https://www.adobe.com/creativecloud/photography/discover/golden-hour.html
