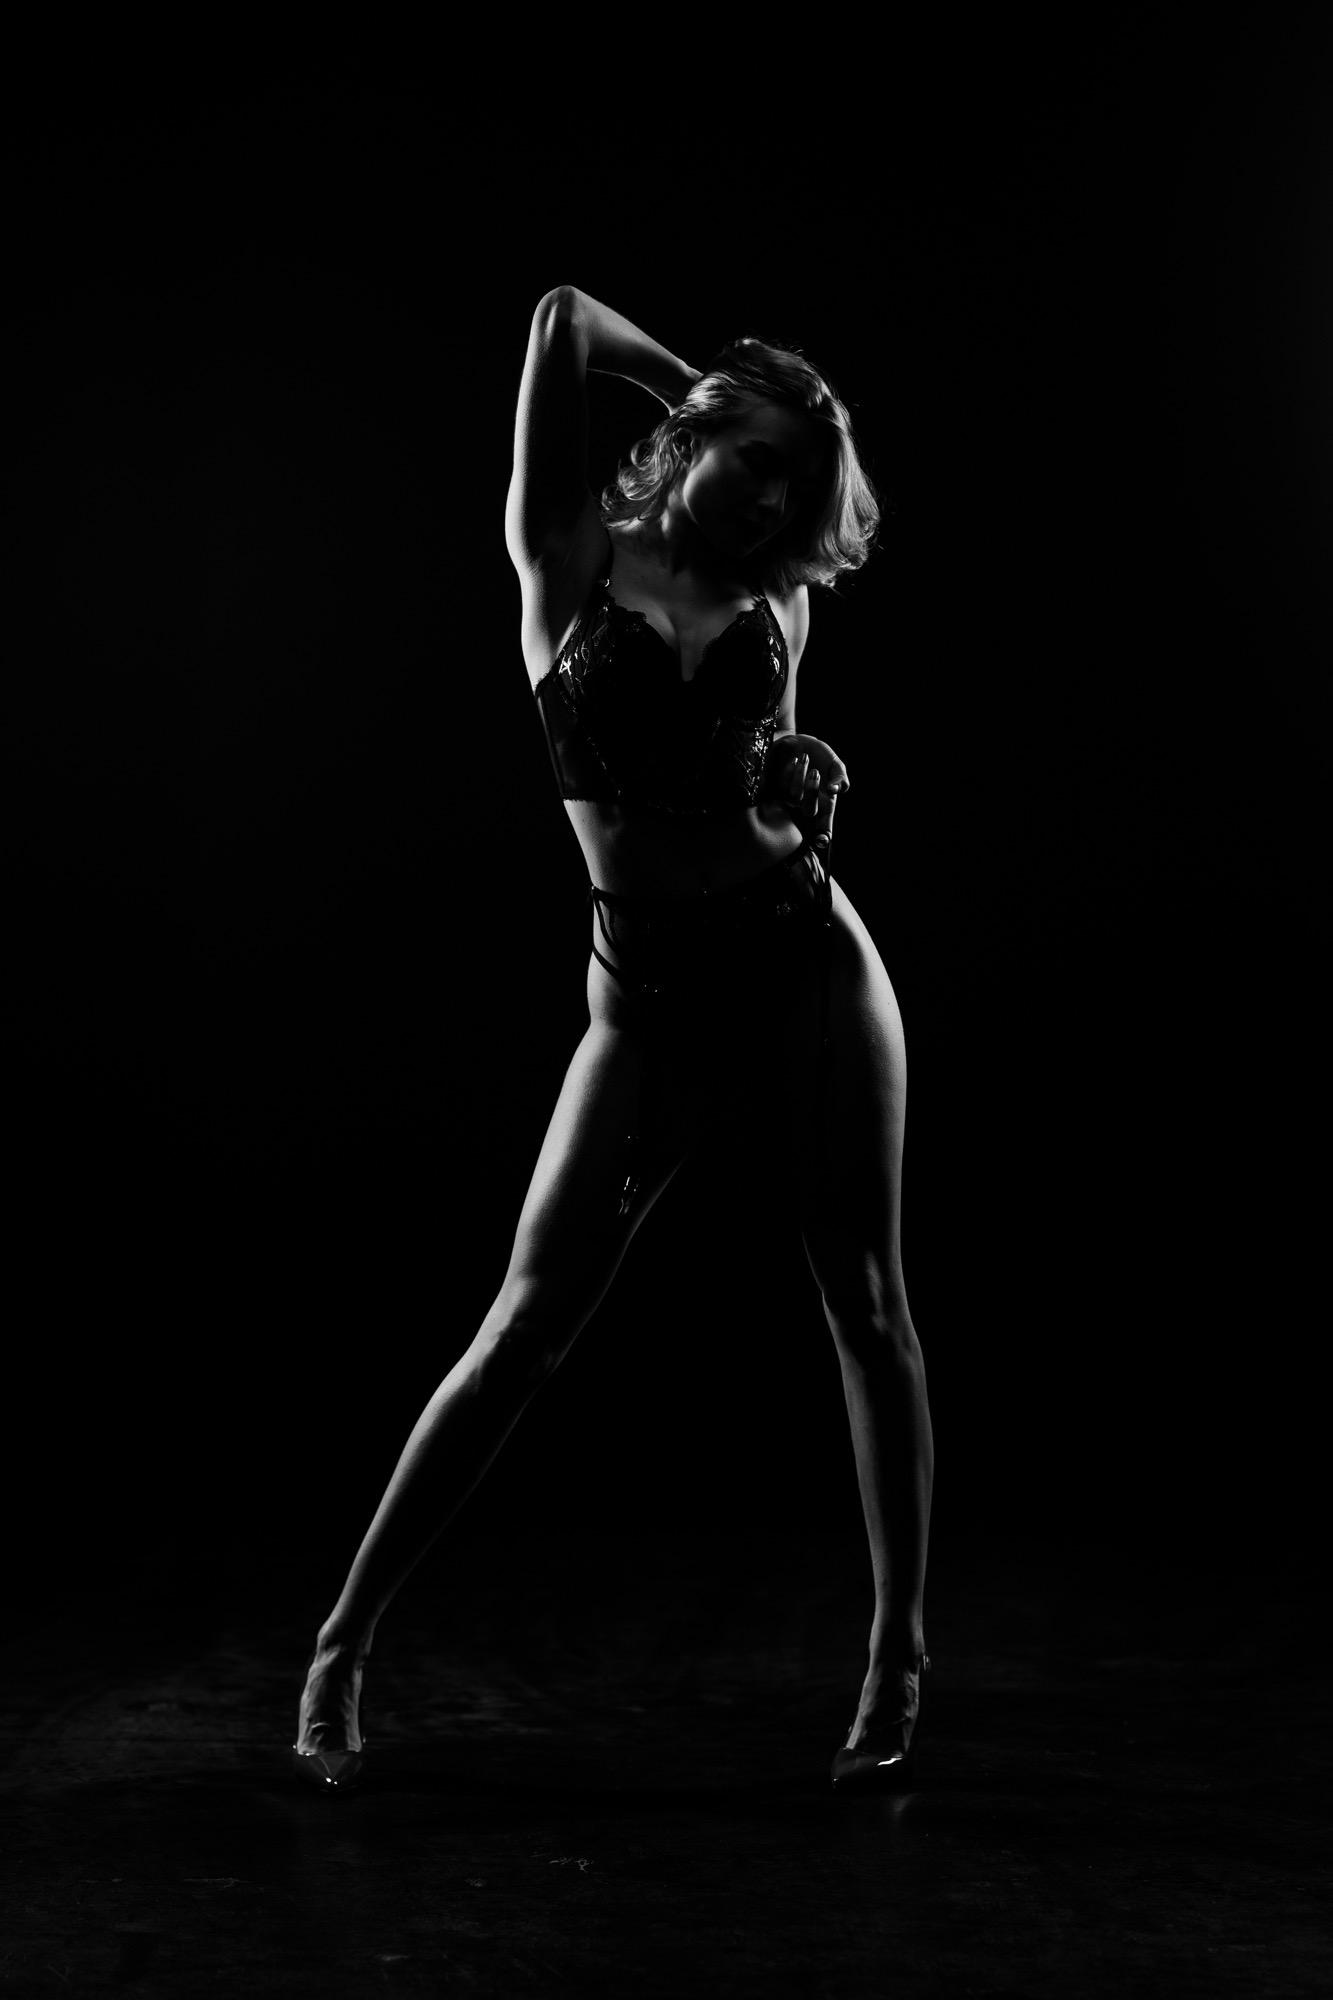
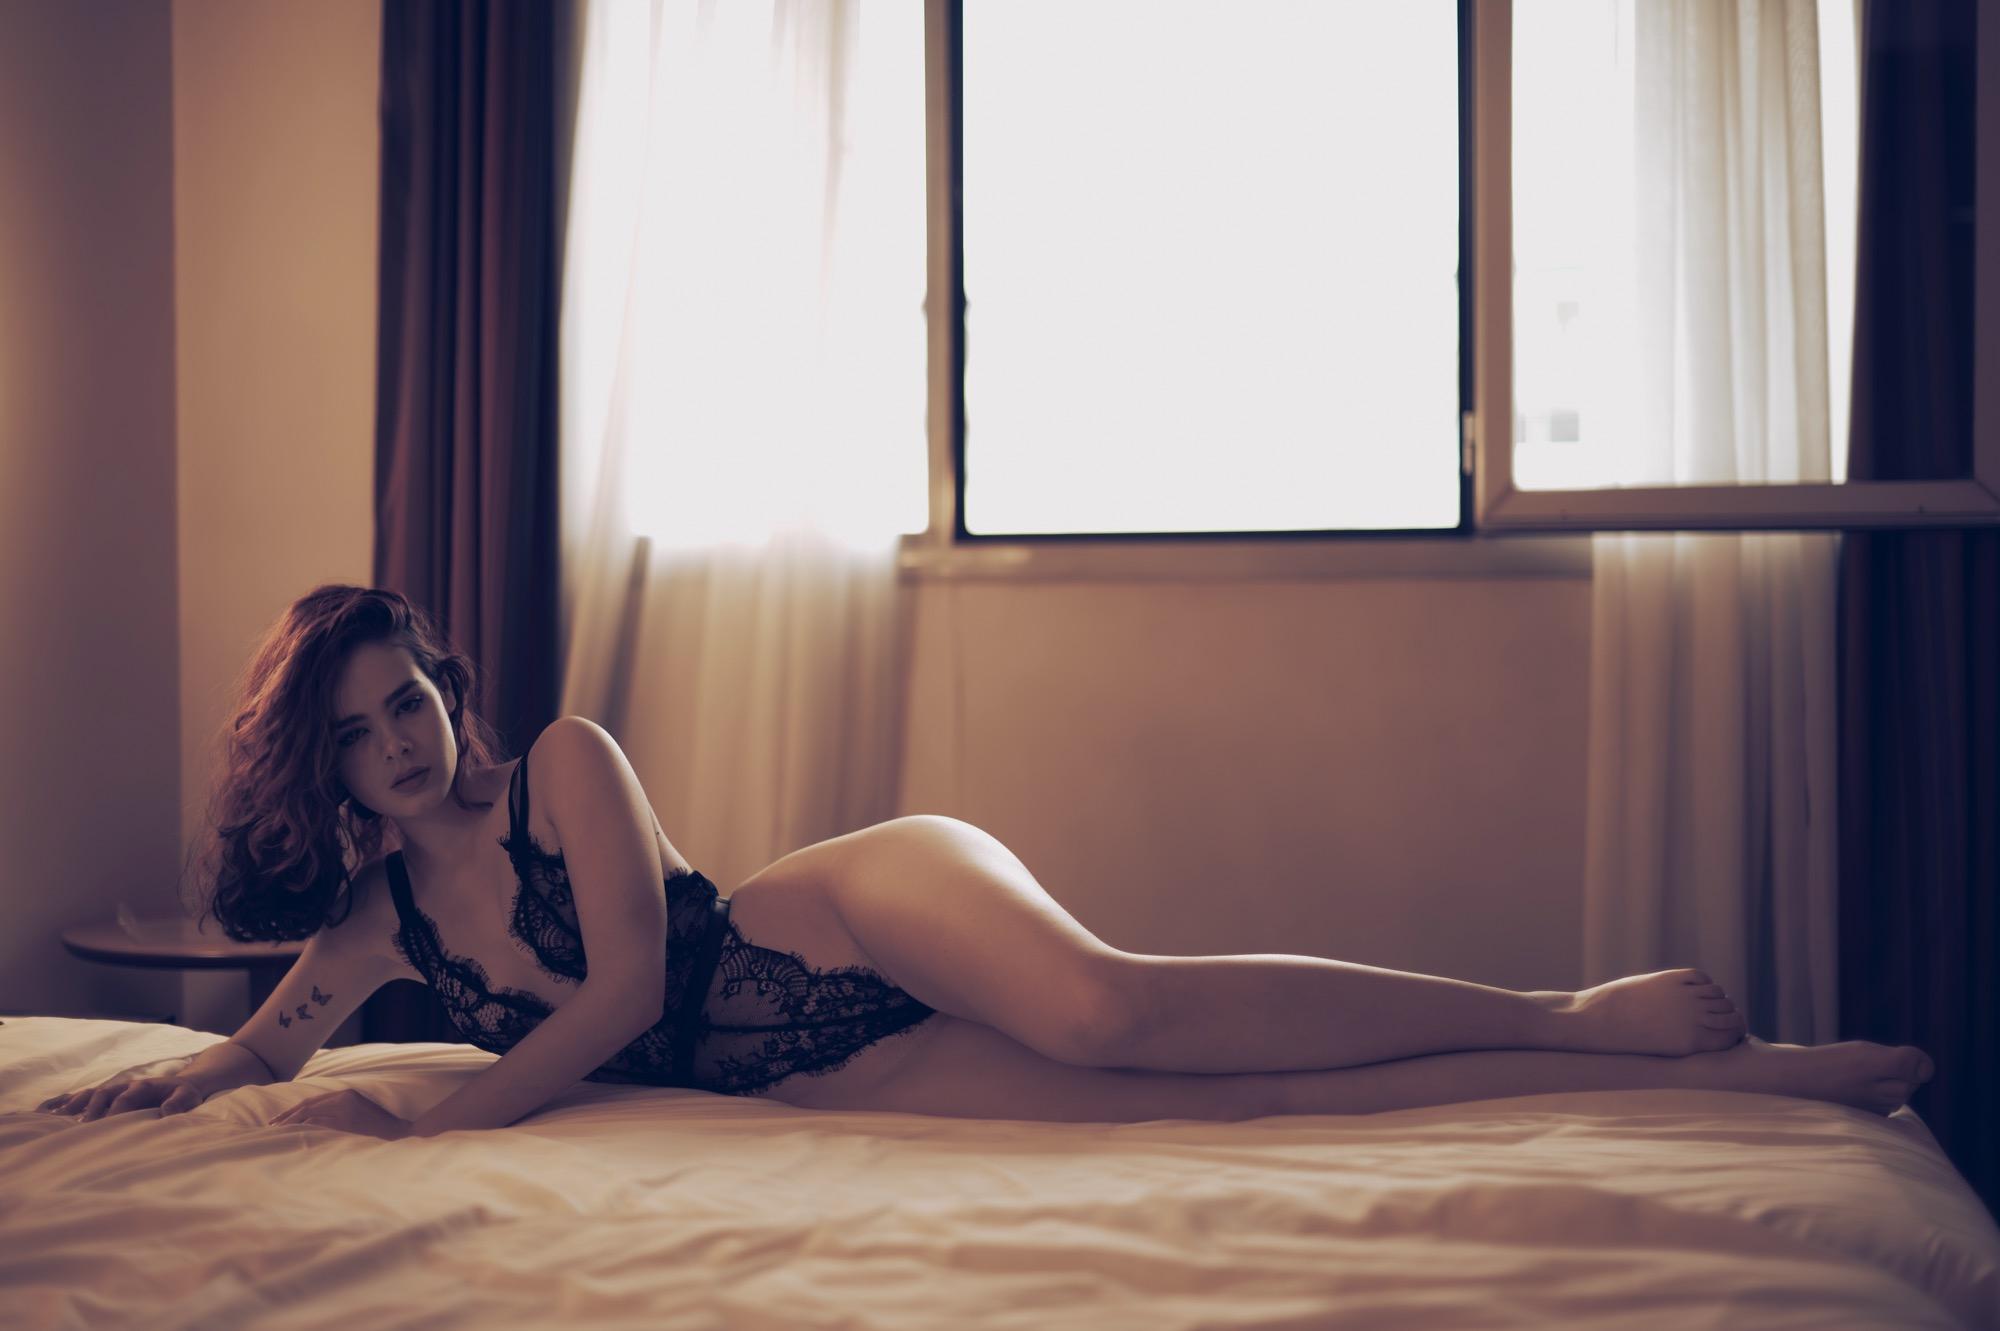
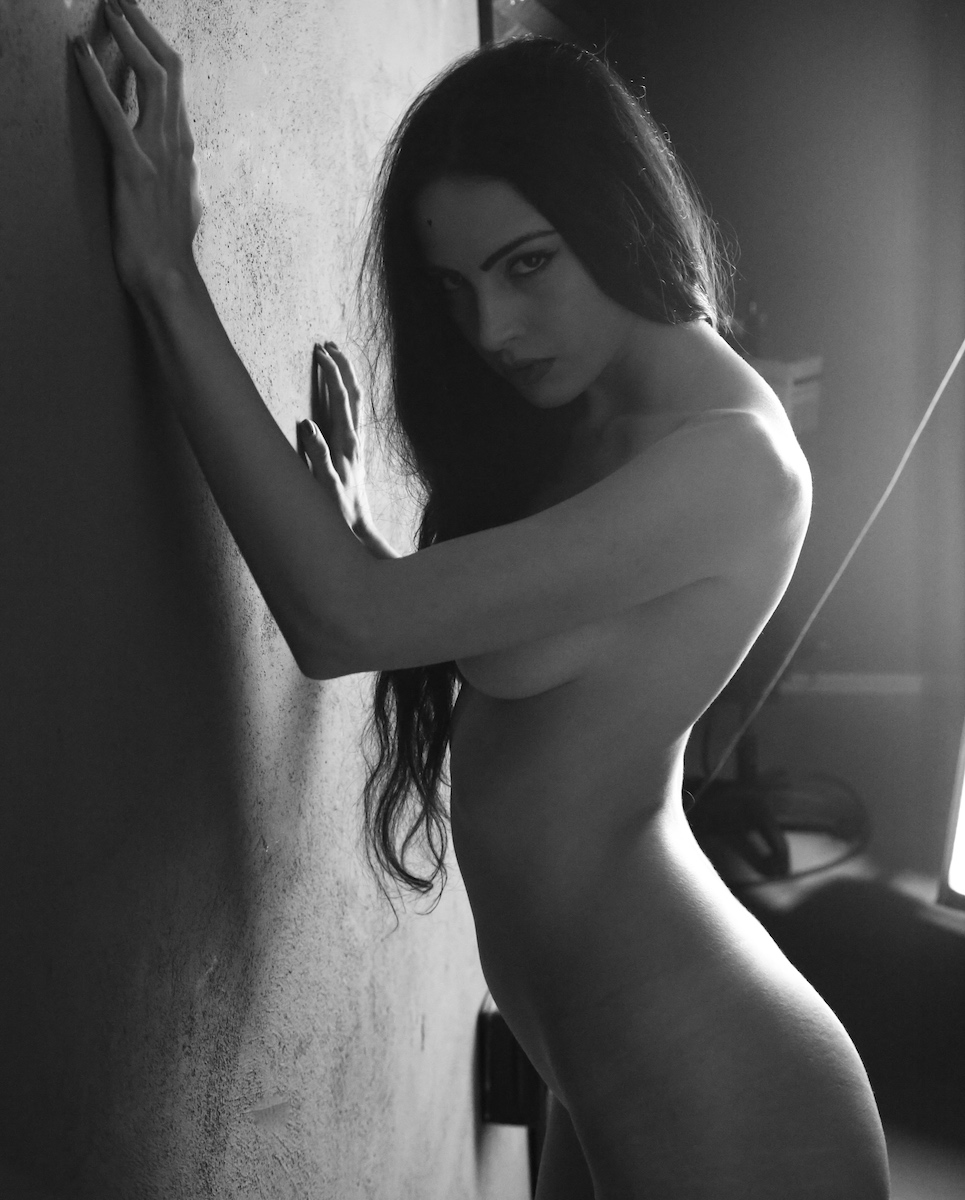
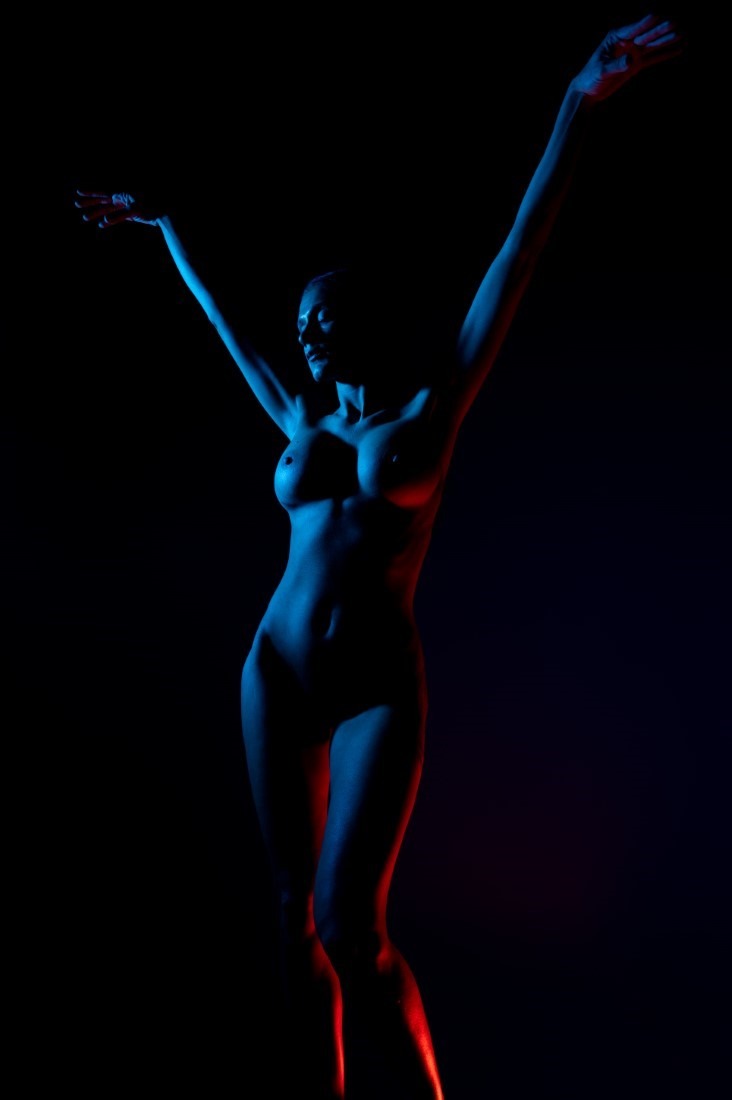
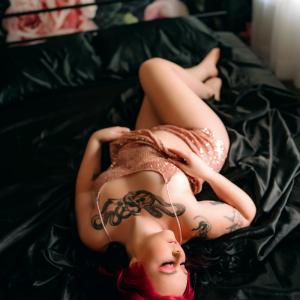
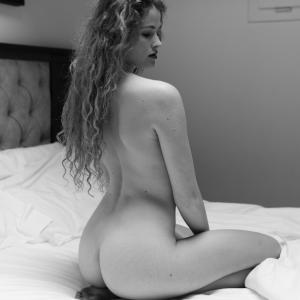
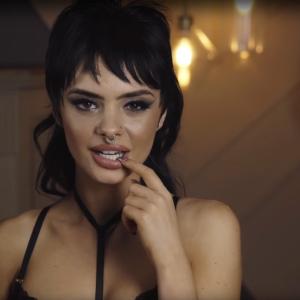
Edge lighting is a powerful technique in boudoir photography, adding drama, dimension, and sensuality to your images. By highlighting the outline of your subject with a thin line of light, you can create striking contrasts and emphasize their form in a way that feels both artistic and intimate. Whether working with natural light, studio setups, or a combination of both, edge lighting offers endless creative opportunities.
In this post, we’ll explore what edge lighting is, why it’s ideal for boudoir photography, how to master it, and the creative possibilities it brings to your work.
What is Edge Lighting Boudoir Photography?
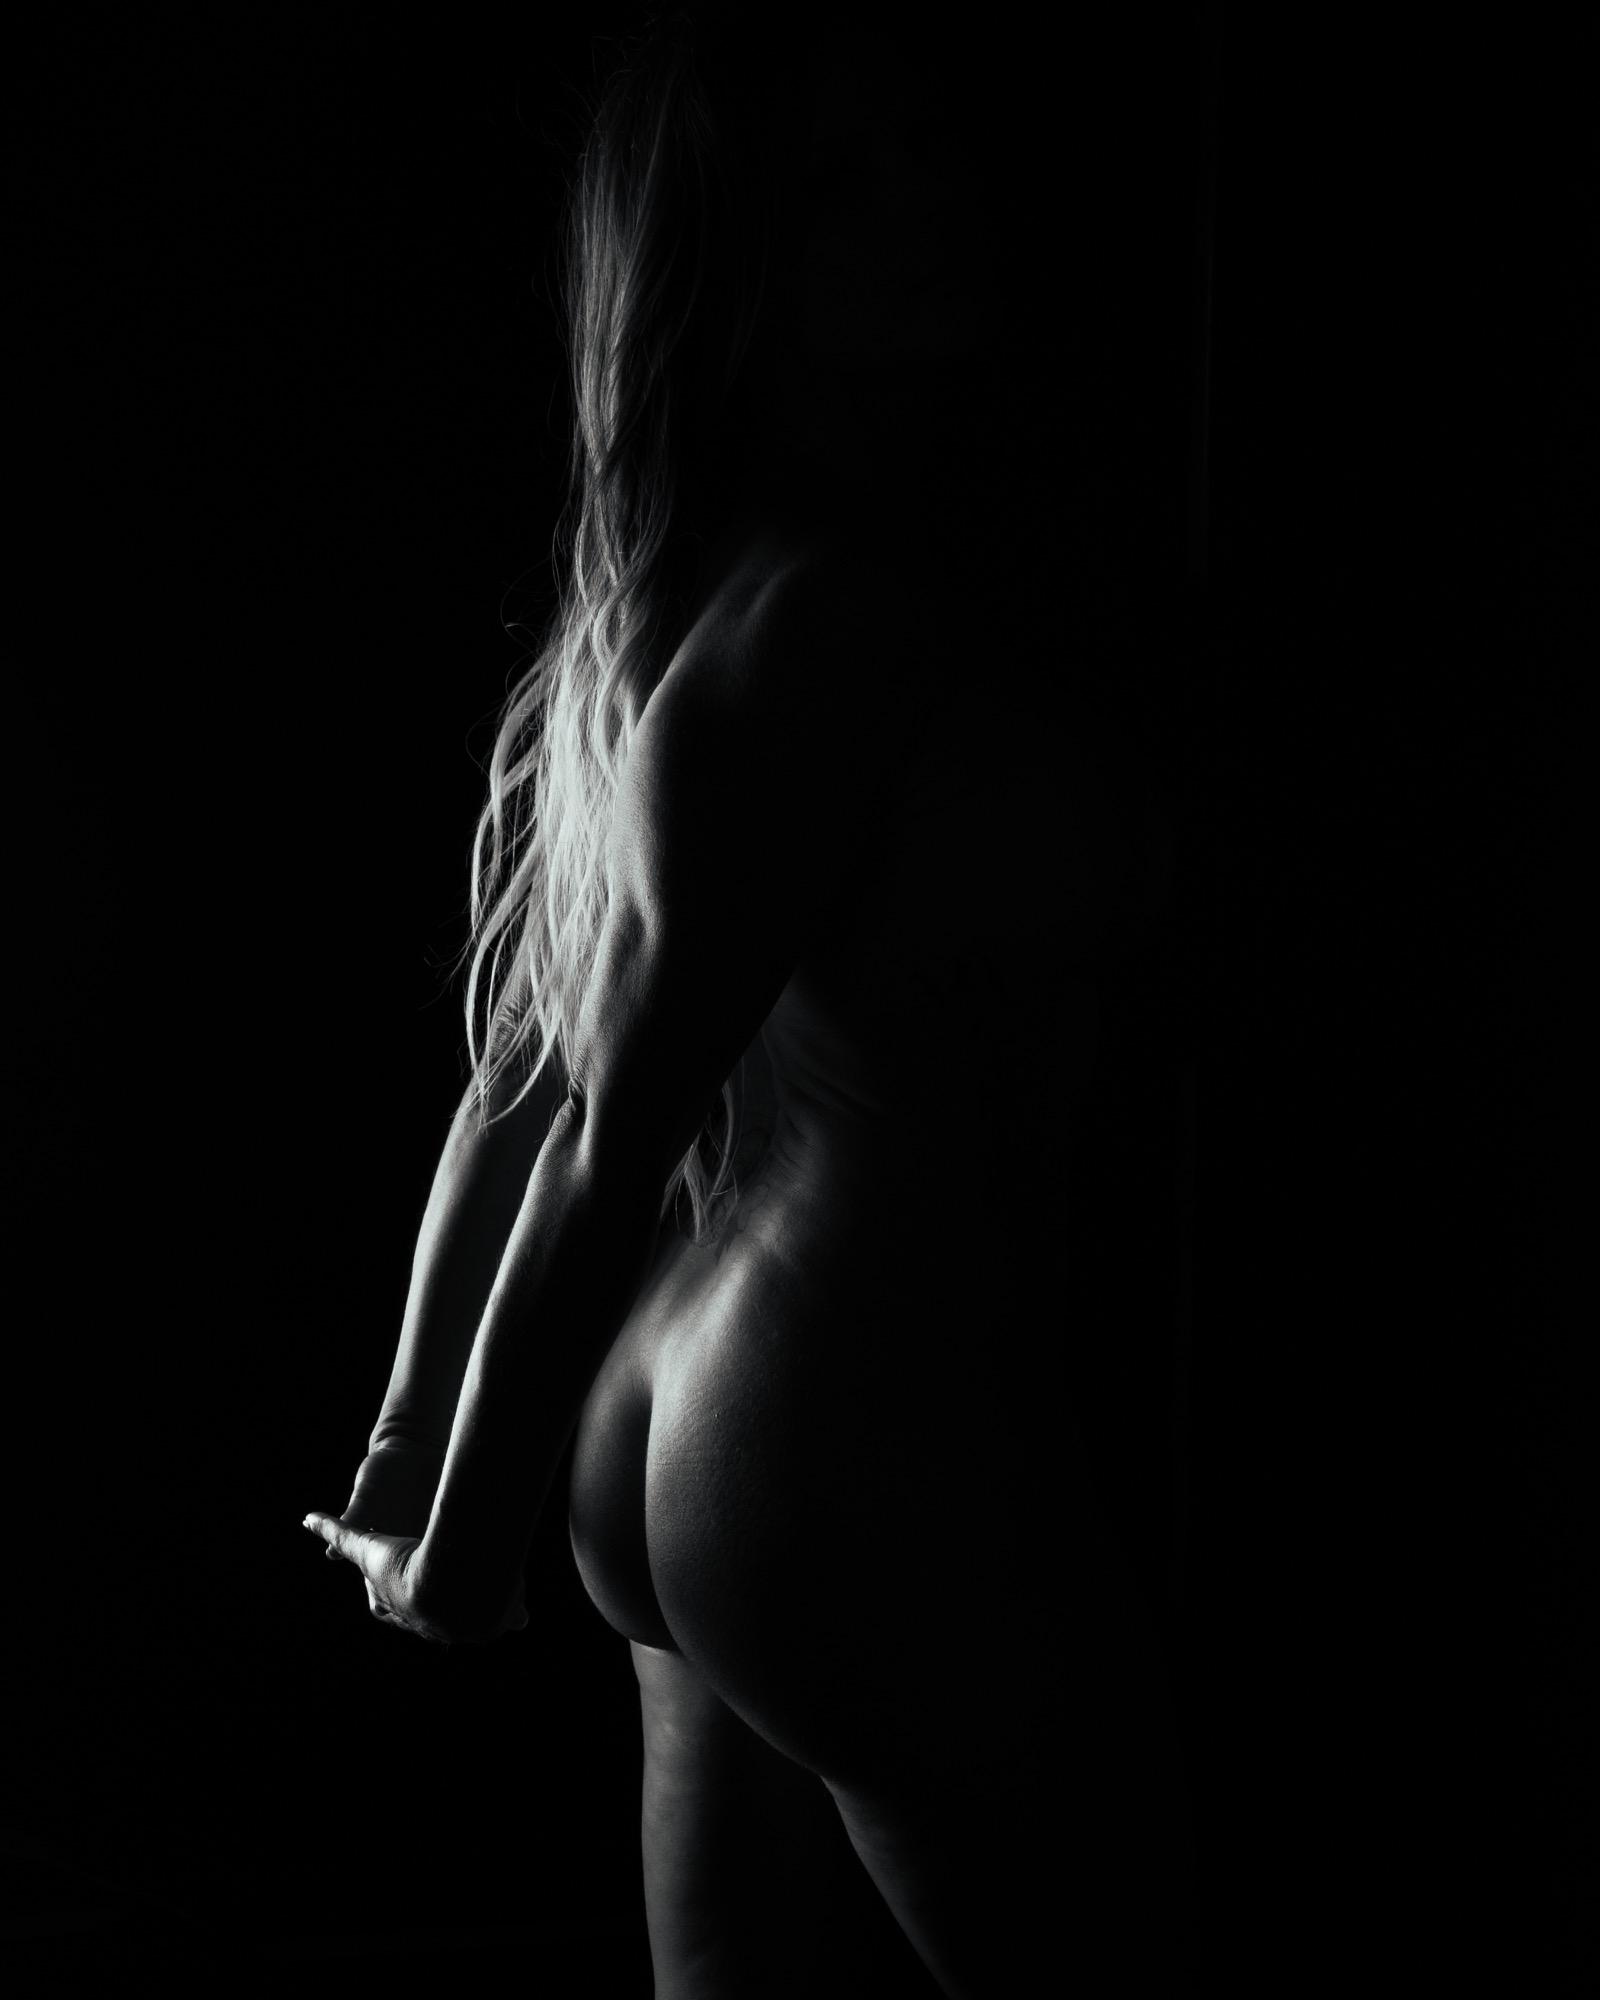
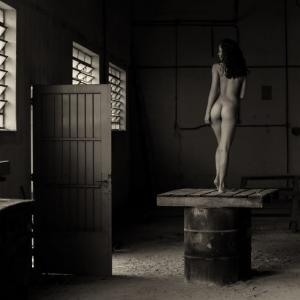
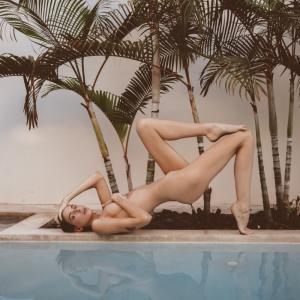
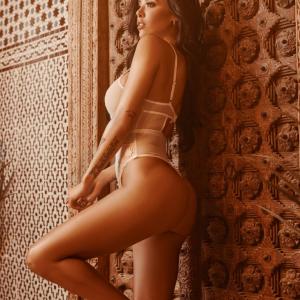
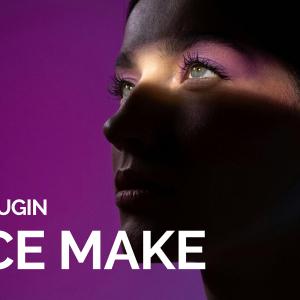
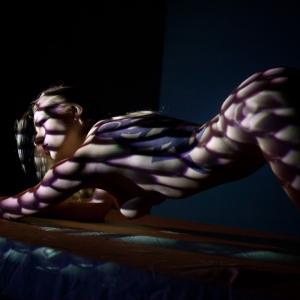
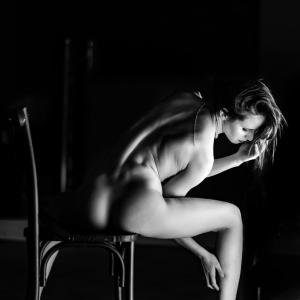
Edge lighting, also known as rim lighting, is a photography technique where light is positioned behind or to the side of the subject to create a glowing outline around its edges. This effect highlights the subject’s silhouette and separates them from the background, adding depth and drama to the image. In boudoir photography, edge lighting is especially effective in emphasizing the curves and contours of the body, creating an intimate, high-contrast aesthetic. It’s a versatile approach that works well with natural light, studio lights, or both.
Why Edge Lighting Enhances Boudoir Photography
Edge lighting brings unique qualities that elevate boudoir photography to an art form:
- Subtle Definition: By outlining the subject’s shape, edge lighting accentuates curves and contours, adding depth and drama.
- Atmospheric Mood: The selective illumination creates a sense of mystery and intimacy, aligning perfectly with the themes of boudoir photography.
- Dynamic Contrast: Edge lighting emphasizes light and shadow interplay, making the subject stand out against the background.
- Timeless Aesthetic: This technique evokes the sophistication of fine art, lending an elegant, high-end feel to your images.
How to Use Edge Lighting in Boudoir Photography
Edge lighting can be achieved with natural light, studio equipment, or even creative props. Here’s how to make it work:
1. Natural Light Edge Lighting
Using sunlight or other natural sources can yield soft and organic edge lighting effects:
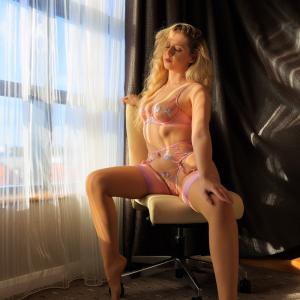
- Tip: Position your subject so the light grazes their side, creating a glowing outline along their silhouette. A window or door frame works well as a directional light source.
- Pose Ideas: Have your subject stand or sit at an angle to the light source, emphasizing the curve of their shoulders or profile.
2. Studio Edge Lighting
Controlled lighting setups allow for precise edge lighting:
- Tip: Use a single light placed behind or to the side of the subject. A strip light or snoot can help focus the beam. Adjust the intensity to achieve a delicate rim of light without overexposure.
- Pose Ideas: Encourage dynamic poses where the subject twists or turns, allowing the light to highlight different parts of their form.
for more Studio Pose Tips.
3. Combining Edge Lighting with Other Techniques
Edge lighting pairs beautifully with other lighting styles:
- Tip: Add a soft front-fill light to balance the edge illumination or experiment with gels to add color to the rim light.
- Pose Ideas: Play with partial silhouettes, where only parts of the subject are illuminated, leaving the rest in shadow for a moody, artistic effect.
To reach more Lighting Techniques.
4. Posing Techniques for Edge Lighting
Posing is critical to making edge lighting work seamlessly. Here are some effective techniques:
- Turned Profile: Position your subject slightly away from the light source to emphasize their face or body profile, creating a clean and dramatic edge.
- Dynamic Twists: Encourage your subject to twist or arch their body to allow the light to trace multiple curves and angles, adding depth to the shot.
- Close-Up Highlights: Focus on details such as hands, shoulders, or facial features, letting the edge light accentuate their textures and contours.
- Movement Poses: Have the subject interact with fabrics, props, or hair flips to create dynamic, flowing lines illuminated by the edge light.
Getting more info for Posing Techniques.
Camera Settings for Edge Lighting Boudoir
Capturing edge lighting requires careful adjustments to ensure the light and shadow are balanced effectively:
- Aperture: Use a medium aperture (f/4–f/8) to maintain sharpness and control the depth of field, keeping the edge light crisp.
- ISO: Set ISO low (100–400) to avoid noise, especially in darker areas of the frame.
- Shutter Speed: Opt for faster shutter speeds (1/125s or higher) to capture sharp details and prevent motion blur.
- White Balance: Adjust to match your light source, such as “Daylight” for natural light or “Tungsten” for studio setups.
- Focus Mode: Use manual focus or single-point autofocus to ensure the rim light stays sharp, especially in low-light conditions.
Overcoming Challenges with Edge Lighting
While edge lighting can produce stunning results, it comes with its challenges. Here’s how to overcome them:
- Maintaining Subtlety: Edge lighting can overpower the subject if it’s too intense. Use diffusers or adjust the light's angle to create a soft, glowing rim.
- Avoiding Overexposure: Watch for blown-out highlights, especially on the edges. Use manual settings to fine-tune exposure and preserve details in the light and shadow areas.
- Background Separation: If the background is too bright or cluttered, the edge lighting effect may be lost. Opt for darker, neutral backdrops to make the rim light stand out.
- Achieving Focus in Low Light: Edge lighting often involves minimal illumination, which can confuse autofocus systems. Switch to manual focus for precision.
Creative Ideas for Edge Lighting Boudoir
Edge lighting is a versatile technique that allows for experimentation and innovation. Here are some creative ideas to try:
- Backlit Silhouettes: Position the light directly behind the subject to create a glowing outline, leaving their features in shadow.
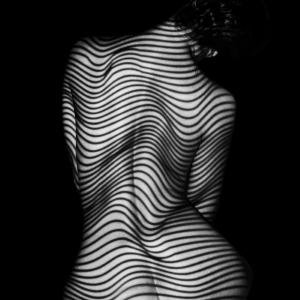
- Light Through Props: Shine light through lace, glass, or sheer fabrics to add texture and layers to the edge lighting.
- Colorful Edge Lighting: Use gels or colored lights to create vibrant rim lighting effects, adding a modern, artistic touch.
- Dual Edge Lighting: Place lights on both sides of the subject for a balanced and dramatic rim effect.
Why Edge Lighting Stands Out in Boudoir Photography
Edge lighting stands out in boudoir photography because of its ability to add depth, elegance, and intimacy to your images. Unlike broader lighting setups, edge lighting focuses on highlighting the outline of the subject, creating a captivating contrast between light and shadow. This technique naturally emphasizes the body’s curves and contours, bringing out the beauty of form in a subtle yet powerful way. Additionally, edge lighting’s ability to separate the subject from the background ensures that every detail feels intentional and polished, giving your photographs a fine art quality that resonates with sophistication and emotion.
Final Thoughts
Edge lighting is a transformative tool in boudoir photography, offering a way to sculpt light around your subject to highlight their elegance and form. Its ability to create mood, depth, and artistry makes it a favorite among photographers seeking to elevate their work. By mastering edge lighting techniques, posing strategies, and camera settings, and overcoming its challenges, you can craft images that exude sophistication and sensuality.
So, grab your lights, find your angles, and let edge lighting bring a new level of artistry to your boudoir photography.
Citations
1-) Another comprehensive guide for Edge Lighting specifically photographers: https://www.youtube.com/watch?v=L3mrhk9iARA
2-) Different perspective for Edge Lighting: https://www.studiobinder.com/blog/what-is-a-rim-light-photography-definition/
